Genuinely good maternity photos don't require a studio, a photographer, or even leaving your house — they require decent light, a stable camera, a handful of poses that work without anyone directing you, and a plan for editing afterward. This is a complete, start-to-finish walkthrough: equipment, lighting, camera settings, wardrobe, poses, basic editing, and — as an optional final step if you want to take a favorite shot further — using AI to give it a more polished, professional look. No step here assumes you have any photography experience.
Key takeaways
- You need a stable camera, a self-timer or remote, and good window light — that's the entire equipment list
- Exposure settings and window positioning matter more than any expensive gear for how professional the result looks
- A handful of specific poses work reliably without anyone directing you — you don't need to improvise from scratch
- Basic free editing apps handle color and exposure; AI restyling is a genuinely useful optional final step for a more polished, professional-feeling result
Step 1: Equipment — what you actually need
The full equipment list for a DIY maternity shoot is short: your phone or any camera, something to hold it steady, and a way to trigger the shutter without being behind it. A tripod is ideal, but a stable stack of books or any flat surface at the right height works as a substitute. For triggering the shot, a cheap Bluetooth remote (often under $15) is more reliable than repeatedly racing back into frame after a countdown, though your phone's built-in self-timer works fine if that's all you have.
Step 2: Lighting — the single biggest factor in how it looks
Light matters more than any other variable in this whole process. Position yourself near a window, but not directly beside it in bright conditions — standing slightly back lets soft daylight wrap around your body rather than creating harsh contrast on one side. Sheer or "daylight" curtains diffuse direct sun into something much softer and more flattering if your window gets strong direct light. Late morning or the hour before sunset generally produces the most even, forgiving light of the day; harsh midday sun through an uncovered window tends to be the least flattering option available to you.
Step 3: Camera settings worth knowing
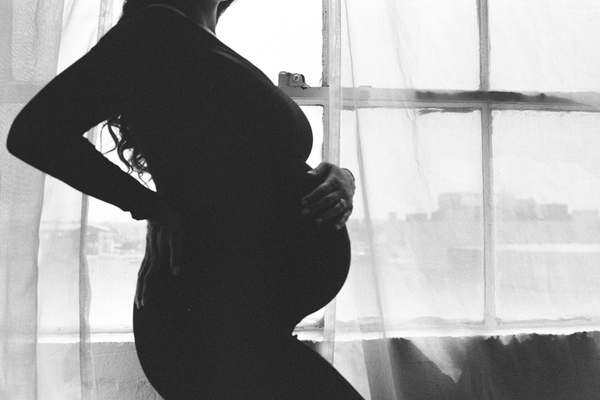
If your phone or camera allows manual exposure adjustment, two settings make a real difference. Setting exposure compensation to about -1 creates a moodier, more shadowed look that reads as intentional rather than accidental. Setting it to +2 while shooting toward a bright window is the standard approach for a silhouette, which is one of the most forgiving and striking maternity poses available to a solo photographer (A-Fotografy). Turning on your camera's grid lines also helps keep horizons and door frames straight rather than subtly tilted, which is an easy detail to miss when you're also managing your own pose.
Step 4: Wardrobe that photographs well and is easy to manage alone
Solid colors and simple silhouettes read more clearly in photos than busy patterns, especially when there's no one to check from a distance how a pattern is actually reading. Clothing you can get in and out of without help — wrap dresses, button-fronts, elastic waistbands — removes a real logistical hurdle when nobody's around to help with a zipper or clasp. And wearing something you already own and feel like yourself in, rather than something bought specifically for this shoot, tends to photograph more naturally than an unfamiliar outfit you're also getting used to.
Step 5: Poses that work without anyone directing you
A handful of poses are specifically well-suited to solo, undirected shooting:
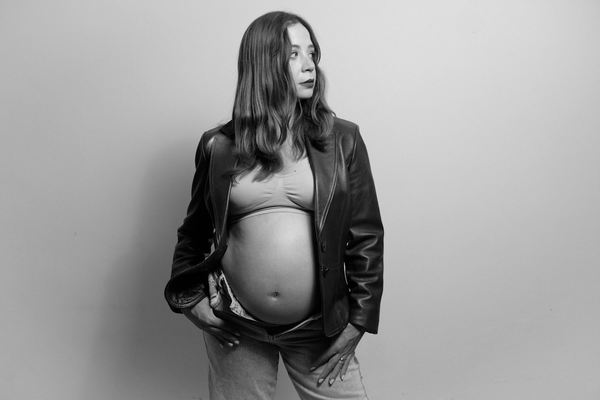
- Side profile, hands cradling the belly. The most classic maternity pose for a reason — it requires no interaction with anyone else, just a turn of your shoulders and a natural hand placement.
- The silhouette. Standing between the camera and a bright window, with exposure compensation set high (see Step 3), turns your shape into a striking outline without needing precise expression or detail.
- The mirror technique. Positioning your camera to face a full-length mirror lets you see your own framing and adjust in real time, rather than guessing how a shot looks before you check it.
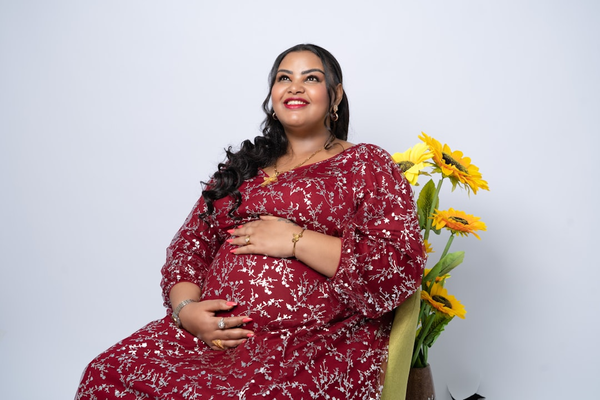
- Seated on a bed edge, stairs, or a low stool. Sitting poses are generally easier to hold steady and repeat consistently than standing ones.
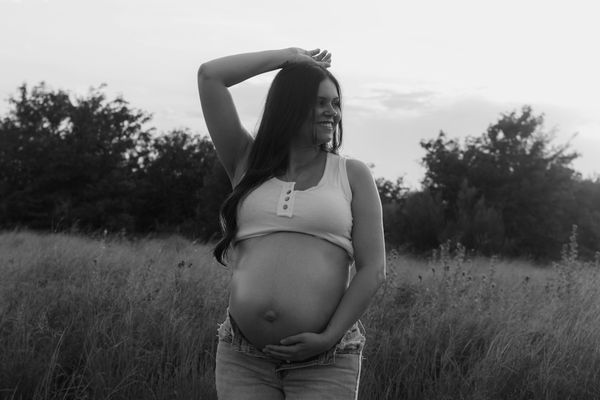
- Movement using burst mode. A gentle twirl, walking toward the camera, or adjusting your hair reads more naturally when captured across several burst-mode frames than when you try to time a single static shot.
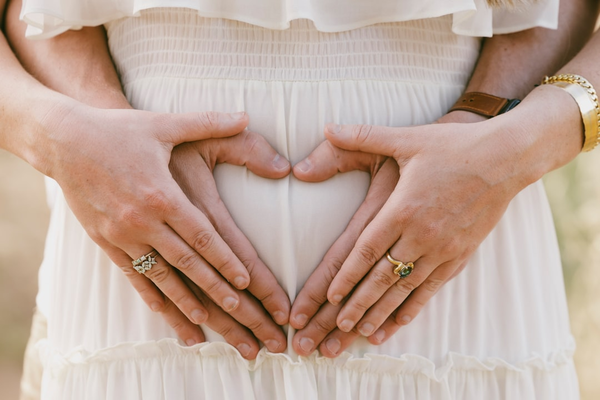
- Hands-only or belly-only framing. A tightly cropped shot of your hands against your belly, face out of frame, sidesteps the challenge of nailing expression and hand position at the same time.
- Leaning against a doorframe or wall. A slight lean immediately looks more relaxed and natural than standing perfectly upright and square to the camera, and it's an easy pose to hold steady for multiple frames.
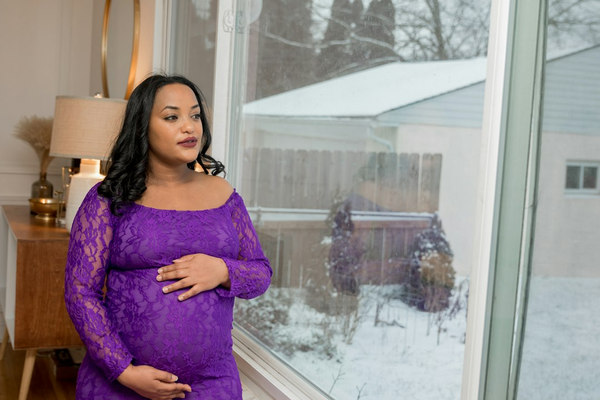
- Looking out a window rather than at the camera. This removes the pressure of nailing a direct-eye-contact expression and tends to produce a softer, more candid-feeling result.
Props and details worth including
A few small props add visual variety without requiring any additional posing skill: an ultrasound photo held near your belly, a pair of tiny baby shoes in your hands, a flower or small bouquet, or a partner's hand resting near yours if they're around but not the focus of the shot. These work especially well for a detail shot — a close, cropped frame that doesn't need to include your full face or body — which is a genuinely easy way to add a second or third image to your set without attempting a more complex full-body pose.
Step 6: Shooting technique
Before you start, mark your spot on the floor with tape or chalk so you land in focus consistently rather than guessing after each shot. Make a rough shot list of poses and outfit changes in advance, so you're not making creative decisions and operating the camera at the same time. Take far more frames than feels necessary — with nobody checking a screen and calling out adjustments, you'll only know what worked once you review everything, so shoot generously and cull afterward. Reviewing in batches of 10-15 as you go, rather than waiting until the very end, lets you catch and fix a problem (bad focus, awkward framing) while you're still dressed and in the mood, rather than discovering it too late.
Common mistakes, and the fix for each
A handful of specific issues trip up most first-time DIY sessions:
- Focus lands on the background instead of you. Fix this by tapping your marked spot on the phone screen to lock focus there before backing away, or by focusing on an object placed at your exact standing distance first.
- The same pose looks stiff across every frame. Change something small between shots — the angle of your chin, where your hands rest, which foot is forward — even if it feels repetitive to you in the moment. Small variations give you real options when you review afterward.
- Lighting looks fine on your phone screen but flat in the final image. Phone screens often make lighting look better than it actually reads at full size — take a couple of test shots and check them zoomed in before committing to a location.
- You run out of energy before you run out of pose ideas. Shoot your most physically demanding poses (standing, movement shots) first, and save seated or reclining poses for when you're more tired.
- You can't tell which shots worked until it's too late to redo them. Review in batches as you go rather than waiting until the very end, so you can adjust your setup while you're still dressed and in the mood.
Step 7: Basic editing
Once you've picked your favorite frames, a free editing app handles the basics: exposure, color temperature, cropping, and straightening. Snapseed (free, from Google) is a genuinely capable option for this — it covers manual exposure and color adjustment, selective editing, and cropping without a subscription or watermark. A practical order to work through: straighten and crop first using the grid tool, then adjust exposure and contrast with the "Tune Image" tool, then use "Selective" to brighten just your face if the rest of the frame is correctly exposed but your face reads a little dark or shadowed. This step alone, even without anything more advanced, typically takes a decent phone photo most of the way to looking intentional rather than like an unedited snapshot.
Step 8 (optional): Taking a favorite shot further with AI
If basic editing gets your photo most of the way there but you want something closer to a professionally styled portrait — better lighting, a more considered setting, an overall more polished look — this is where an AI maternity photo generator like AI Maternity Photoshoot Lab is genuinely useful as a final step rather than a replacement for the work you've already done. Upload your favorite DIY shot, and the system restyles it into a fuller, more professional-feeling portrait — think of it as picking up where basic color and exposure editing leaves off, not as a substitute for having taken a good photo in the first place.
Worth being honest about: this generates a new, restyled version of your photo rather than making a small, surgical edit to just the background while leaving everything else pixel-identical — expect a fuller transformation, not a single targeted tweak. Results depend on your source photo's clarity, so the sharper and better-lit your DIY shot, the better the final result. It works from a single portrait of one person, so it can't merge in a separate photo of a partner. And like any AI-generated image, small artifacts around hands or fabric are occasionally possible, which is worth checking before you settle on a final favorite. New accounts get 30 complimentary credits, and photos that don't meet the basic requirements are auto-blocked before any credits are used, so there's no cost to trying it on your best shot from the session.
None of this replaces the seven steps before it — a poorly lit, out-of-focus photo won't turn into a great one just because an AI tool touches it afterward. It's a genuinely useful last step precisely because it builds on a decent DIY photo rather than trying to substitute for one, which is exactly why it's positioned here as optional and final rather than as a shortcut around the actual photography.
Frequently asked questions
Q. What do I need for DIY maternity photos at home? A. A phone or camera, a tripod or stable surface, a self-timer or cheap Bluetooth remote, and a window with decent natural light. That's the complete equipment list — nothing else is required.
Q. What are some at-home maternity photoshoot ideas without a photographer? A. Side-profile belly poses, window silhouettes, the mirror technique, seated poses on a bed edge or stairs, and hands-only close-up framing all work well without anyone directing you.
Q. How do I take my own maternity photos indoors? A. Position yourself near, but not directly beside, a window for soft even light, use a tripod with a self-timer or remote, mark your spot on the floor for consistent focus, and take far more frames than you think you'll need.
Q. What's a simple way to get good maternity photos at home without much effort? A. Start with the silhouette pose against a bright window with your exposure compensation turned up — it's one of the most forgiving, visually striking options and requires very little posing skill or setup time.
Q. Do I need an expensive camera for DIY maternity photos? A. No. A modern smartphone camera is entirely sufficient — light, composition, and camera settings matter far more to how professional a result looks than the specific camera or phone model you're using.
Q. How many photos should I take during a DIY session? A. Plan for volume — far more than you think you need. Without a photographer directing you shot by shot, you'll only know which frames worked once you review everything, so dozens of frames per pose is normal, not excessive.
Q. Can I edit my DIY maternity photos myself, or do I need a professional editor? A. Basic editing (exposure, color, cropping) is very doable yourself with a free app like Snapseed. If you want a more dramatic, professionally styled final look, an AI restyling tool is a reasonable next step without hiring a professional editor.