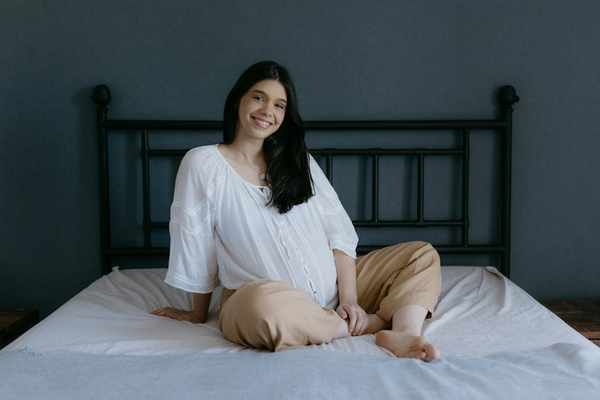
Your iPhone's camera is genuinely capable of producing maternity photos that look professionally shot — the gap between a phone snapshot and a polished portrait comes down to a few specific settings, some selfie-specific technique, and a short editing pass, not the hardware itself. This is a complete walkthrough covering exactly that: the camera settings to turn on first, how to actually take a good maternity selfie (with or without a tripod), background ideas you probably already have at home, how to edit on your phone, and an optional AI step to push a favorite shot the rest of the way to a professional finish.
Key takeaways
- Three camera settings make the biggest difference: grid lines, exposure/focus lock, and the built-in self-timer
- A true selfie (handheld, arm's length) needs different technique than a tripod shot — the tips below cover both
- You probably already have a good maternity photo background at home — a plain wall, a doorway, or a window are often better than they get credit for
- Editing directly on your phone gets you most of the way to a polished look, and AI restyling is a genuinely useful final step if you want more
Camera settings to turn on before you start
Three built-in iPhone features do most of the heavy lifting:
- Grid lines. Go to Settings > Camera > Grid and Level to turn this on. The grid helps you keep horizons and door frames straight and position yourself off-center for a more intentional-looking composition, rather than dead-center by default.
- Exposure and focus lock (AE/AF Lock). Press and hold on your subject (or where you'll be standing) until "AE/AF Lock" appears, then swipe up or down on the screen to brighten or darken the shot before you take it (iMore). This is what lets you fix a shot that's reading too dark or too bright without any editing afterward.
- The self-timer. Tap the Camera Controls icon (the circle with dots at the top of the screen), tap Timer, and choose 3, 5, or 10 seconds (Webtrickz). This is what makes self-timer maternity photos possible at all — set your phone on a tripod or stable surface, start the timer, and get into position.
Two more settings worth adjusting: turn HDR off or set it to a lower level for portraits, since it can flatten skin tones and make a photo look processed rather than natural, and switch on Live Photos even if you don't plan to use the motion feature — it captures a fraction of a second before and after the shutter fires, which occasionally rescues a shot where your expression was better a moment before or after the exact frame you meant to take.
Light matters more than any single camera setting
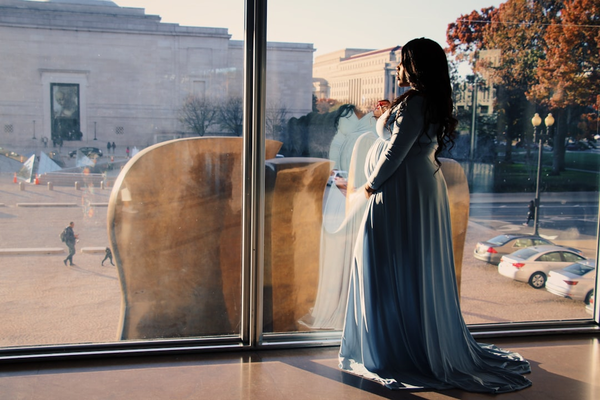
Before getting into technique, it's worth saying plainly: no camera setting fixes bad lighting. Position yourself near, but not directly beside, a window — standing slightly back lets soft daylight wrap around you rather than creating harsh contrast on one side. Avoid using your phone's flash entirely; it tends to flatten features and create an unflattering, clinical look compared to natural light. Late morning or the hour before sunset generally produces the softest, most even light of the day, while harsh midday sun through an uncovered window is the least forgiving option available to you.
Wardrobe choices that photograph well on a phone camera
Phone camera sensors are smaller and more compressed than a DSLR's, which makes some wardrobe choices read better than others. Solid, muted colors (soft blue, sage, cream, dusty rose) photograph more cleanly than busy or high-contrast patterns, which can look noisy or slightly distorted on a phone sensor at certain distances. Matte fabrics generally read better than very shiny or sequined ones, since phone cameras sometimes struggle with blown-out highlights on reflective surfaces. And an outfit you already own and feel comfortable in tends to photograph more naturally than something new you're also getting used to wearing for the first time.
Self-timer maternity photos: the tripod approach
For a full-body or posed shot, the self-timer plus a stable surface is the most reliable method. A tripod is ideal, but a stack of sturdy books or any flat surface at the right height works as a substitute. Mark your standing spot on the floor with tape so you land in focus consistently, use the 10-second timer option rather than 3 seconds so you have enough time to get into position without rushing, and take several shots per pose rather than one — with nobody checking the frame for you, you'll only know what worked once you review the photos afterward.
Maternity selfie ideas: when you don't have a tripod
A genuine handheld selfie is a different technique than a tripod shot, and it comes with its own set of ideas that actually work at arm's length:
- The mirror selfie. Standing in front of a full-length mirror in decent light lets you compose a full-body shot that a true arm's-length selfie can't achieve — you're photographing your reflection, not just your face and shoulders.
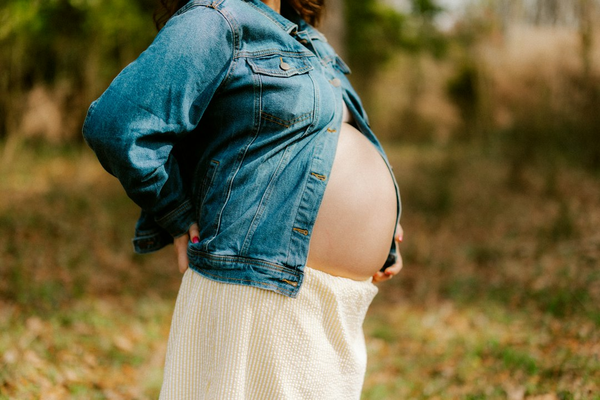
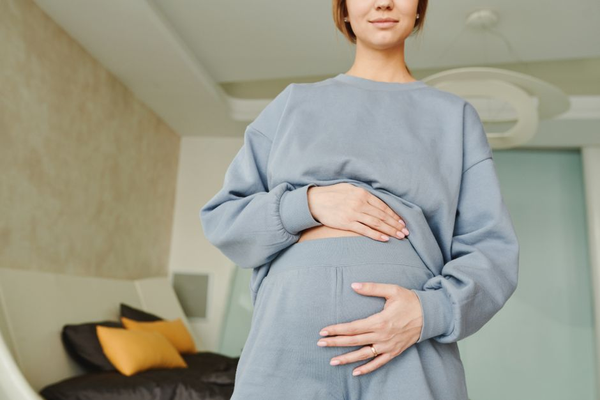
- Close, cropped hands-on-belly shots. At arm's length, a tighter frame — your hands and belly, without needing your full face in focus — is more forgiving than trying to capture a full standing pose.
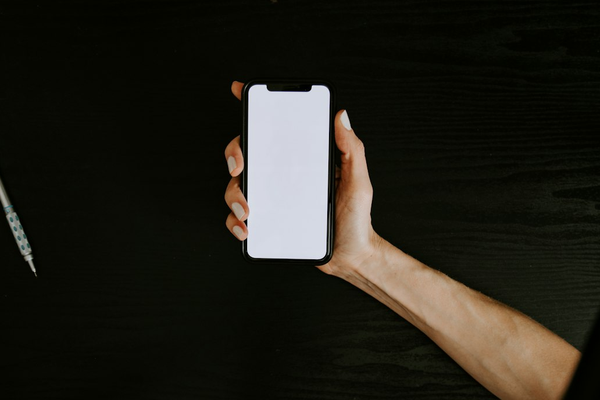
- Use the back camera with the volume button, propped at a distance. Prop your phone against a stack of books facing you, use the volume button as a shutter release (this works from a short distance, not just in-hand), and you get back-camera quality without needing to be holding the phone yourself.
- Portrait mode for a softly blurred background. If your iPhone supports it, Portrait mode blurs the background behind you, which gives even a plain room a more polished, professional-looking depth to it.
- Shoot from slightly above eye level. A selfie angled slightly downward toward you is generally more flattering than one shot from below, and it's an easy adjustment regardless of where you're standing.
Background ideas you probably already have at home
You very likely already have a usable background without buying or arranging anything new:
- A plain, uncluttered wall. Solid, muted colors (soft blue, white, sage green) photograph as intentional and calm, and they're the easiest background to find in almost any home.
- A doorway or window frame. Standing in a doorway or in front of a window creates natural framing around you without any extra setup.
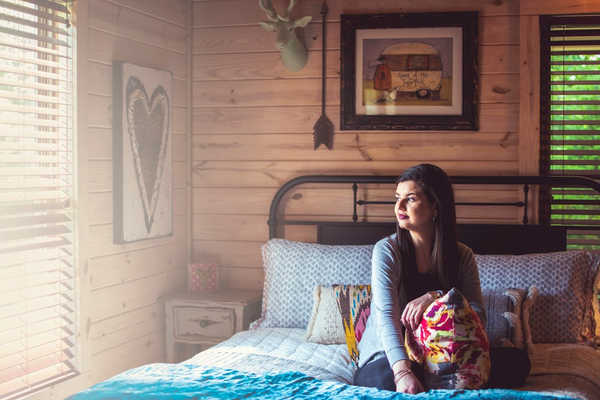
- Your bed, styled simply. Neutral linens with the pillows tidied create a soft, cozy backdrop for seated or reclining poses.
- A staircase. Standing partway up or down a staircase adds a natural, interesting angle without requiring you to pose against a flat wall.
- Your front porch or backyard at golden hour. If you want an outdoor feel without going anywhere, the hour around sunrise or sunset just outside your door often looks better than a studio backdrop.
- Near houseplants or a bookshelf. A little greenery or visual texture in the background adds interest without becoming distracting, as long as it stays soft and out of sharp focus behind you.
Common iPhone photo mistakes, and the fix for each
A handful of specific issues come up constantly in phone-shot maternity photos:
- The photo looks slightly wide or distorted, especially up close. This usually means you're using the ultra-wide lens without realizing it — switch to the standard 1x lens (or zoom in slightly to 1.2-1.5x) for a more natural, flattering perspective, since wide lenses can subtly distort proportions the closer you get.
- Focus keeps landing on the background instead of you. Tap directly on yourself in the frame before the timer starts, or focus on an object placed at your exact standing distance first, to lock focus where you actually need it.
- The photo looks fine on your phone screen but flat once you view it larger. Phone screens are small and often make images look better than they actually are — zoom in and check a couple of test shots at full size before committing to a location or pose.
- You can't tell which frames actually worked until you're done. Review your shots in batches as you go rather than waiting until the end, so you can adjust lighting or positioning while you're still set up, not after you've already put everything away.
How to edit maternity photos on your phone
Once you've picked your favorite shots, the built-in Photos app handles a real amount of polish on its own: tap Edit, then adjust Exposure, Brilliance, Highlights, and Shadows to correct a photo that's too dark or too flat, and nudge Warmth slightly up for a softer, cozier color tone. For more control than the built-in tools offer, Snapseed (free, from Google) adds selective adjustments — for example, brightening just your face if the rest of the frame is correctly exposed but your face reads a little shadowed. Straightening and cropping in either app, using the same grid concept from your camera settings, is worth doing last, after color and exposure look right.
Optional final step: AI upgrade to a professional finish
If you want to take a favorite shot beyond what phone editing alone can achieve, this is where an AI maternity photo generator like AI Maternity Photoshoot Lab is genuinely useful as a last step. Upload your best-edited iPhone photo, and the system restyles it into a fuller, more professional-feeling portrait — better lighting, a more considered setting, an overall more polished look than manual editing alone typically achieves.
Worth being upfront about: this produces a new, restyled version of your photo rather than a small, surgical tweak to just one element — expect a fuller transformation. Results depend on how clear and well-lit your source photo is, so it's worth applying your basic phone edits first rather than uploading an unedited shot. It works from a single portrait of one person, so it can't merge in a separate photo of a partner. And like any AI-generated image, small artifacts around hands or fabric are occasionally possible. New accounts get 30 complimentary credits, and photos that don't meet the basic requirements are auto-blocked before any credits are used, so there's no cost to trying it on your best shot.
Frequently asked questions
Q. Can I really get professional-looking maternity photos with just my iPhone? A. Yes. The camera hardware is more than capable — grid lines, exposure lock, and the self-timer, combined with good window light and a bit of phone editing, get you most of the way to a polished result without any additional equipment.
Q. How do self-timer maternity photos work on iPhone? A. Tap the Camera Controls icon, tap Timer, choose 3, 5, or 10 seconds, then set your phone on a tripod or stable surface and get into position before it fires.
Q. What are some good maternity selfie ideas if I don't have a tripod? A. A mirror selfie for a full-body shot, a tightly cropped hands-on-belly close-up, propping your phone against a stable object and using the volume button as a shutter release, and Portrait mode for background blur all work well at arm's length.
Q. How do I edit maternity photos on my phone? A. Use the built-in Photos app's Exposure, Brilliance, Highlights, Shadows, and Warmth sliders for basic correction, or a free app like Snapseed for more selective adjustments like brightening just your face.
Q. What are good maternity photo background ideas at home? A. A plain uncluttered wall, a doorway or window frame, your bed styled simply, a staircase, your front porch at golden hour, or a spot near houseplants or a bookshelf all work well without any special setup.
Q. Why do my iPhone maternity photos look distorted or overly wide? A. This usually means the ultra-wide lens is active rather than the standard lens. Switching to the 1x lens, or zooming in slightly, produces a much more natural, flattering perspective, especially at closer distances.
Q. Should I use my iPhone's flash for maternity photos? A. Generally no. Flash tends to flatten features and create a harsh, clinical look compared to soft natural window light, which almost always produces a more flattering result for this kind of portrait.